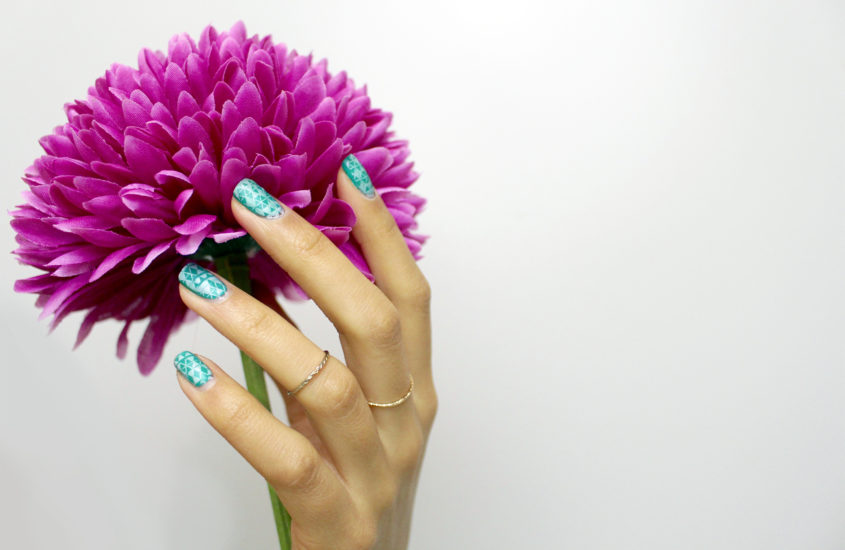
How I Do Nail Designs

Firstly, I need to apologize because I’ve been a little MIA the past couple of weeks and have been slightly slacking with my posts! I’m back with full force and giving you my guide on how I do nail designs. When it comes to designs I like to use stamping palettes because I can’t physically draw a flower on a nail to save my own life, but I can sure as hell stamp you a nice one! Now, for those of you who have no idea what stamping palettes are, it’s okay. I’ve created a short tutorial to show you exactly what it is and how I do it. If you’re looking for salon quality designs, but don’t want to pay big coin for a professional set of nails then keep reading!
When I first got into nail stamping, I picked up a stamping kit at a local supplier and I’ve found one for you very similar to mine on Amazon here and it’s less than $20! The kit comes with a series of gems, brushes, design palettes, a scraper and a stamper. The only thing that this kit doesn’t come with is the polish to actually do the design. When doing the designs, it’s best to use special stamping polish because it has to be a certain consistency in order for the pattern to transfer properly. The two stamping polishes I find work best are Konad and Moyou and these brands are both available on Amazon in a wide range of colors.
I wish I took a picture of the first time I tried to stamp because it was a mess! In the beginning I was so discouraged I actually put the kit away for a few months because I thought it didn’t work and it was a waste of money. I was forced to practise because my clients were asking me to do designs left and right and I already told you, I can’t draw worth shit! Read about how I became an esthetician here. I needed to give the people what they wanted, so dammit I stamped like a mad woman until the designs started looking the way I wanted them to. It takes patience and a steady hand to get the technique down and once you’re comfortable enough you’ll be stamping like a pro in no time!
Check out my tutorial below!
Tips
- Make sure your polish is fully dried before starting (at least 12 hours). Unless you have on a light cured polish that is immediately dried after application
- Use the right amount of pressure
- Be quick! You’ll want to stamp the palette then the nail before the polish dries
- Clean the palette and the stamper with nail polish remover after every nail
- Seal with a clear top gloss
- Practise, practise, practise
Show me your designs by following me on Instagram, Twitter, and Facebook and using #justpeachy!


Alyssa
You are an inspiration to many!!
For someone just starting out, what UV Lamp would you recommend? Also, what gel starter kit would you recommend? Maybe doing a post on your essentials for a perfect manicure would be an amazing read as well!! Thank you for your help!
chia
Hello Alyssa! Great question. I just might have to do a post about this. I only use professional products available through suppliers that cater to licensed nail techs. I love using Gelish products and they have a great LED lamp. I will warn you ahead of time, be prepared to spend a pretty penny if you’re looking to invest into a gel starter kit. Gelish has a great one, too!
Ky
Hey again Chia!
Curious if you can use gel polish for stamping? I can’t draw for shit either lol, but since I’m starting nail school I’d love to be able to execute designs and stamping sounds like a great alternative to drawing. Thanks!
chia
Hi there!
I’ve only ever used stamping polish to stamp! I find regular polish can be really saturated and the sign shows up nice and vibrant. But hey, give the gel polish a try and see how it goes. You never know how it’s gonna turn out =)
Congrats on starting school! All the fun will be had, haha!
Chia